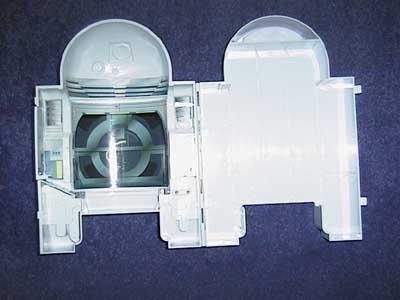
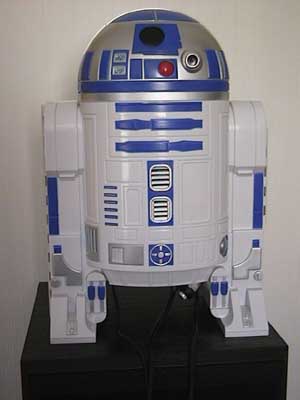
R2D2PC's casing formerly was a Star Wars toy which had some kind of space station located at the inside. In order to get rid of all the superfluous plastic pieces, a pair
of pliers and a file were useful. On the photo above you can see the empty casing.
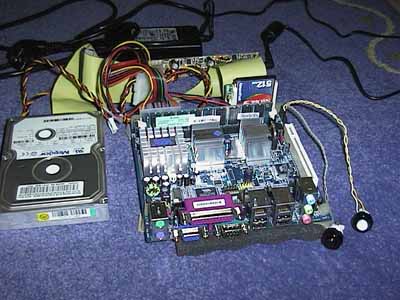
Here you can see all components which were originally used in order to build the R2D2PC. On the photo they are already connected to each other. The following list describes the original
components as well as later changes to the initial build:
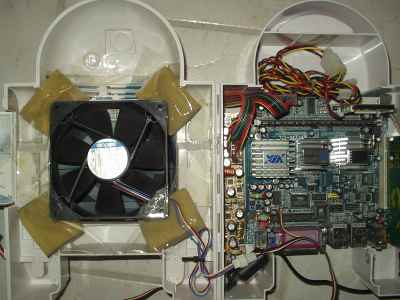
On the above photo, all components are already mounted inside the casing. The hard drive from the initial configuration was later replaced by a large fan, which is attached with sticky tape on four foam pads. The mainboard is also mounted on four small foam pads. The size of the casing turned out to be ideal for a Mini-ITX mainboard.
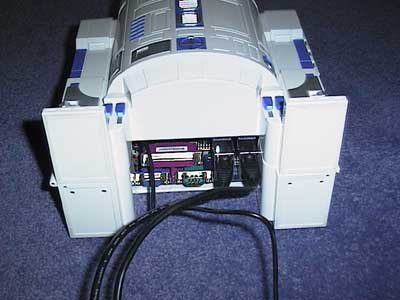
Here you can see the bottom of R2D2PC. Directly accessible are four USB ports, two ethernet ports, parallel & serial connectors, and the VGA adaptor. Inside the casing are also connectors for PS/2 mouse and keyboard as well as various audio plugs. Only the ethernet ports are used during normal operation. R2D2PC is administered remotely via OpenSSH.
